# "Hello, world!" with Flask
# Why Flask?
Flask[1] is known as a lightweight WSGI[2] application framework. A framework is a code library that makes a developer's life easier while writing application code. Flask helps us build reliable, scalable, and maintainable web applications
Flask lets you quickly get started with building web applications in pure Python. In the following sections, you'll install Flask on your local development machine and make a simple 'Hello, world!' application. Let's jump right in!
# Installing Flask
Assuming you've got Python 3 installed on your local development machine, let's create a virtual environment[3] and install Flask in it. For this demonstration, we'll be using Python 3.8. Run the following commands on your terminal based on your operating system:
# Linux / MacOS:
Create the virtual environment:
python3 -m venv venv
Activate the virtual environment:
. venv/bin/activate
Install Flask via pip:
pip install Flask
# Windows
Create the virtual environment:
py -3 -m venv venv
Activate the virtual environment:
venv\Scripts\activate
Install Flask via pip:
pip install Flask
If you're having trouble with your installation, checkout this detailed installation guide here[4].
# Making a "Hello, World!" Flask Application
If you go to the Flask[5] website, you are welcomed with a very simple example application that has just five lines of code. We'll be building the same application here just to get a hang of how the entire process works.
# Prepare Your Application Directory
We'll create a folder called hello-world and put all our application code inside that. Go to your development directory (where you want to place your code) and run the following command to create the hello-world folder:
mkdir hello-world
# Write Your First "Hello, World!" Application
Now go to the hello-world folder that you've just created and create a new Python file called app.py. Add the following lines to the app.py file.
# app.py
from flask import Flask

app = Flask(__name__)


@app.route("/")
def hello_world():
    return "Hello, World!"
Let's see what did the above code do:
First we imported the
Flaskclass.Then we've create an instance of the class and assigned that to
appvariable. This instance of the class will be our WSGI application.We then use the
route()decorator to tell Flask what URL should trigger our function.The function is given a unique name and returns the message we want to display in the user’s browser.
# Run the Application
To run the application, you can either use the flask command or Python’s -m switch with Flask. Before you can do that you need to tell your terminal the application to work with by exporting the FLASK_APP environment variable. Also, during development, you should turn on the debugging mode by setting the FLASK_ENV environment variable to development. Run the following commands if you're on Linux/MacOS:
export FLASK_APP=app.py
export FLASK_ENV=development
flask run
Now, if you're on Windows then export FLASK_APP and FLASK_ENV variables on Command Prompt like this:
C:\path\to\app>set FLASK_APP=app.py
C:\path\to\app>set FLASK_ENV=development
Or on Powershell, run:
PS C:\path\to\app> $env:FLASK_APP = "app.py"
PS C:\path\to\app> $env:FLASK_ENV = "development"
Then run:
python -m flask run
Now using your browser, head over to http://127.0.0.1:5000/ (opens new window), and you should see your 'Hello, world!' greeting.
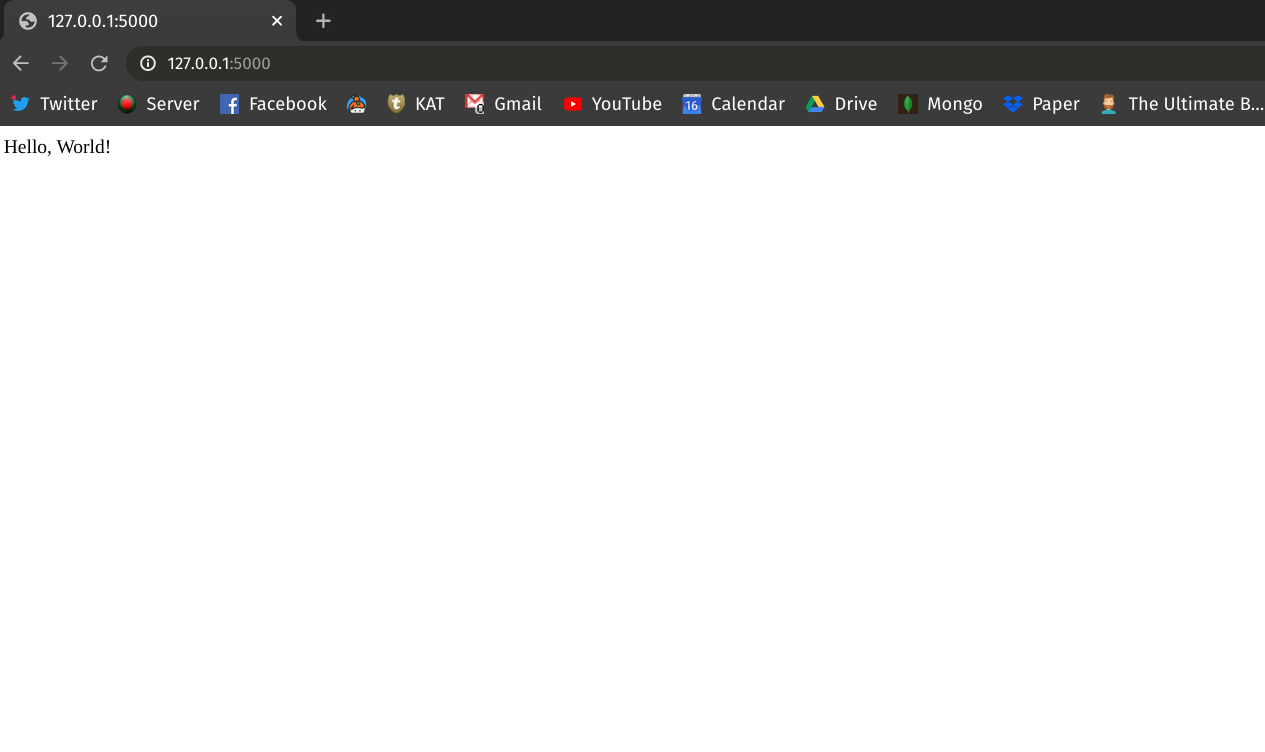
Here, you've created your first API. An Application Programming Interface (API) allows two systems to communicate with one another. Running the Flask application creates a server that allows a client to access the 'Hello, world!' string. Your browser is the client that accesses the server via an API endpoint. The final part of the link http://127.0.0.1:5000/ that you've used to interact with the API is called an endpoint. When the browser accessed the URL, the server runs the hello_world() function and returns a string that the browser then displays. The route() decorator takes care of the back and forth communication between the server and the client.
# Serving an HTML String
Let's make our 'Hello, world!' app a bit more exciting. Here, you'll create a new endpoint and display the 'Hello, world!' greeting in a fancy html format. Head over to your app.py file and modify it like the following:
# app.py
from flask import Flask


app = Flask(__name__)


@app.route("/")
def hello_world():
    return "Hello, World!"


@app.route("/fancy")
def hello_world_fancy():
    greetings = """
    <html>
    <body>

    <h1>Greetings!</h1>
    <p>Hello, world!</p>

    </body>
    </html>
    """
    return greetings
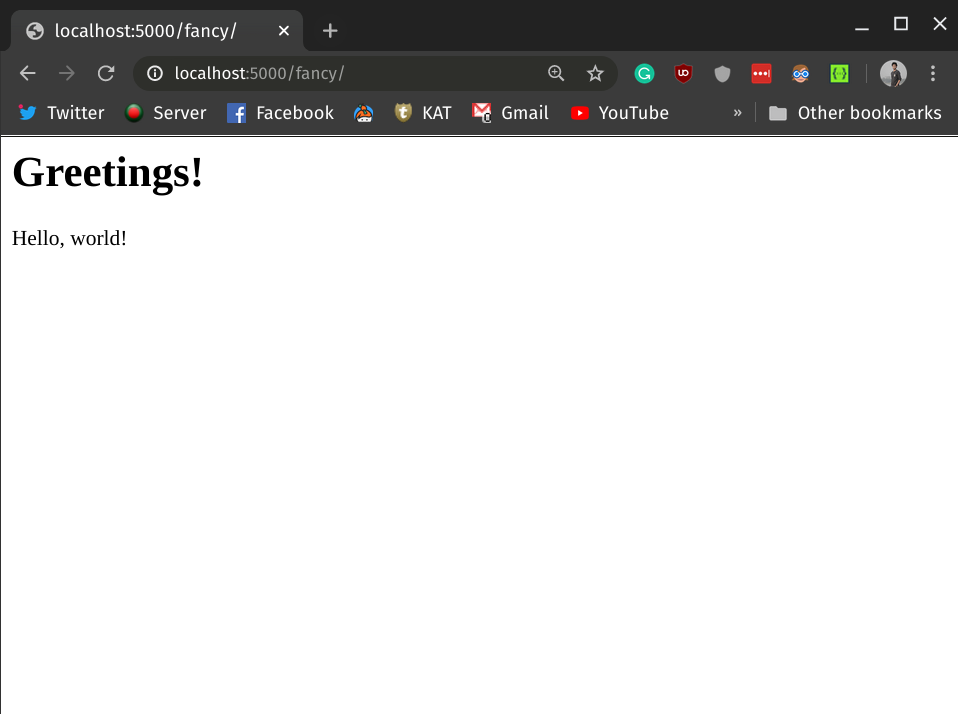
Notice, how we've introduced another function called hello_world_fancy() and decorated it like the previously defined hello_world() function. This time the route() decorator defines a new endpoint named /fancy. Flask will automatically append this endpoint to your host URL http://localhost:5000. So, the final URL will be http://localhost:5000/fancy (opens new window). If you've stopped your server, then run the application again by following the previously mentioned instructions. Then head over to http://localhost:5000/fancy (opens new window) on your browser and you'll be greeted by a fancier 'Hello, world!' page.
# Conclusion
In this lesson you've learned how to build and serve simple APIs with Flask framework. You've also learned how endpoints work, how to access the server from a client and how to add new routes to your app to send HTML to the browser.